I’m frustrated when unit tests run slowly. One way to speed them up in Xcode when developing using a simulator: isolate your model to a framework, and run your tests without a host application.
Context: Developing a Swift-based app for iOS using the simulator.
Starting Point
The “normal” process for tests in Xcode:
1. The system starts up the simulator
2. The system starts your app.
3. The system runs your tests in the context of that app.
The simulator takes a few seconds to start, but it doesn’t need to be fully running to run your tests. Once it’s started, you can leave it running and not pay that price.
By default, the system starts your app even if you’re only doing unit tests (no UI tests). It brings up whatever views, environment, I/O you normally do on startup.
Jon Reid has an approach to speeding that up: “How to Bypass SwiftUI App Launch During Unit Testing.” To do this, you create an alternative main() for your app, with an empty view. This does run faster, but you still have the startup time for an empty app.
The technique below removes the whole need for that approach.
Running Without an App
Bypassing your app is faster, but it turns out we can skip that “run your app” step entirely. (Jon Reid pointed this out to us in a Twitch session.)
My assumption is that you have a model group (folder), and unit tests that run over them. (I assume you have no User Interface or I/O in these.)
Mechanics
1. Make the model classes, enums, func’s, etc. public if they’re used by non-model objects.
2. Add a new target, with “framework” as its template.
3. Move the classes into the framework’s group.
4. Make sure that your main and test targets have a reference to the new framework.
4. For files that import any framework classes, add an import for the framework.
5. Fix the visibility of any entities you missed in step 1 🙂
6. On the project file, for your test project, select “None” (rather than your app) for the Host Application. I also turned off the option for host APIs.
Having a framework changes the app structure somewhat, necessitating moving a few files in or out. I haven’t seen other negative impacts.
So – you still have to run the simulator, but tests are much faster!
With this, my build+test time went from 20-30s (and occasionally a couple minutes) to about 6 seconds to bring up the simulator the first time, and 3 seconds to run the tests. (The tests claim it only took 0.066 seconds:) [Note that I’m running a non-standard configuration since I’m using a pre-release Swift Testing with a released Xcode; I expect the build time to go down substantially.]
Making Things Public
Putting your code in a framework means that it’s in a different name space from the rest of your code. You can no longer reference things that use implicit protection; they need to be public.
This change can be tedious but isn’t difficult. I find it’s easiest to start from the “leaves” – lowest level items.
If you miss anything, you’ll get errors later.
Making the Framework
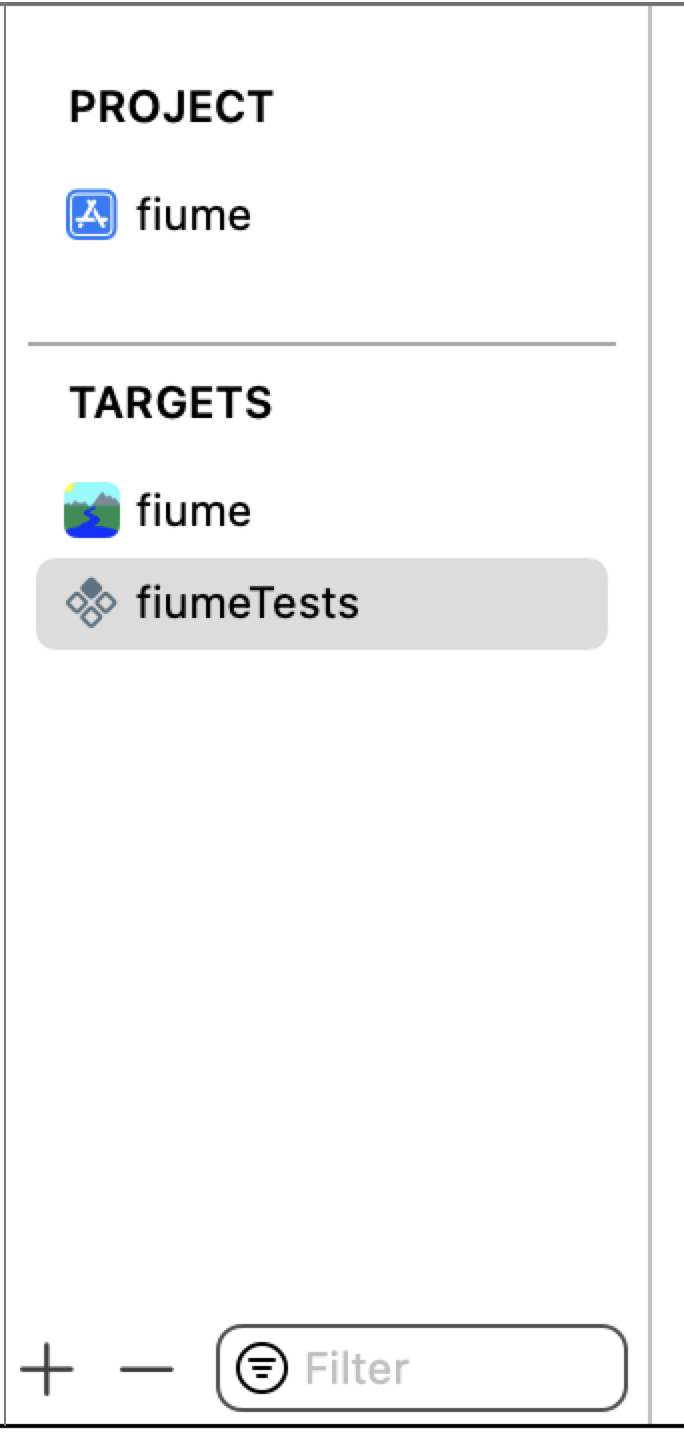
Select your project (top-level file), and the General tab. You’ll see a list of your project’s targets. Click the “+” to create a new target.
Select “Framework”:

Hit Next, give it a product name, and press Finish.

Move Classes into the Framework Group
Your classes (enums, etc.) were presumably in a group (like model below). Move them to the folder that corresponds to your new framework.

Reference the Framework
Since your other code presumably uses the classes now in the framework, your code won’t build. You need to add a reference to the framework to your targets. At least for me, Xcode added the framework to the main target automatically, but I had to add it to the testing target manually.
To do this, click “+” in the “Frameworks and Libraries” section.

This brings up a dialog where you can select your new framework.

Add Imports as Needed
Even if you have everything public that needs to be, your other classes won’t compile. They have access to the new framework, but clients need imports on a per-file basis.
In my case, I had to add
import fiume_modelto the files containing my views, tests, and other objects.
Set Host Application to None
Once things are compiling, run your tests to make sure you’re back where you started. This run will still bring up your app before running the unit tests.
But putting things in a framework lets us run without our app. Open your project file again (the top-level file), and select your test target. In the Testing section, you’ll see Host Application, set to your app.

For Host Application, click the dropdown and select “None”.

If you run the tests again, you should see that they now avoid the overhead of starting up your app before they run.
Conclusion
By turning our model objects into a framework, adjusting callers, and testing with no host application, we’ve sped up our tests by a noticeable amount.
It has some costs and consequences, however. Some syntax errors won’t be detected by the incremental compiler, and won’t show up until you re-build the system.
You also have to make changes in the privacy level of many places, and add imports to the clients. This stricter modularity may reflect your design better, but it takes some effort to put it in place.
It took some fiddling to work this out, but I hope the details above make it easier for you. I’m very glad to have faster tests.
Related Reading
“Swift Testing – A New Unit Testing Framework“, by Bill Wake. Retrieved 7-31-24.
“How to Bypass SwiftUI App Launch During Unit Testing“, by Jon Reid. Retrieved 7-31-24.
“Technical note TN2435: Embedding Frameworks in App.” Retrieved 7-31-24.